Helpful tips
How to bake bread
Baking bread has been experiencing a renaissance for some time now. One of the reasons for this is certainly the joy of doing it yourself, because the satisfying (success) experience of holding in your hands a loaf of bread that is crispy on the outside and juicy on the inside can hardly be surpassed. The path to making your own bread is easier than it first appears, and anyone who takes it will achieve amazing results with just a few ingredients, a willingness to experiment, time and patience - the cardinal virtues of baking, as any artisan baker will confirm. Good flour is the key to good bread: If you want to bake such bread, you need above all a flour rich in protein, because the protein content is decisive for the baking result: The proteins form, together with the water during kneading, the framework that holds the dough together, and only a strong framework is able to hold the many air bubbles that arise in a rising bread dough.
Bread baking utensils
Our bread and bakeware
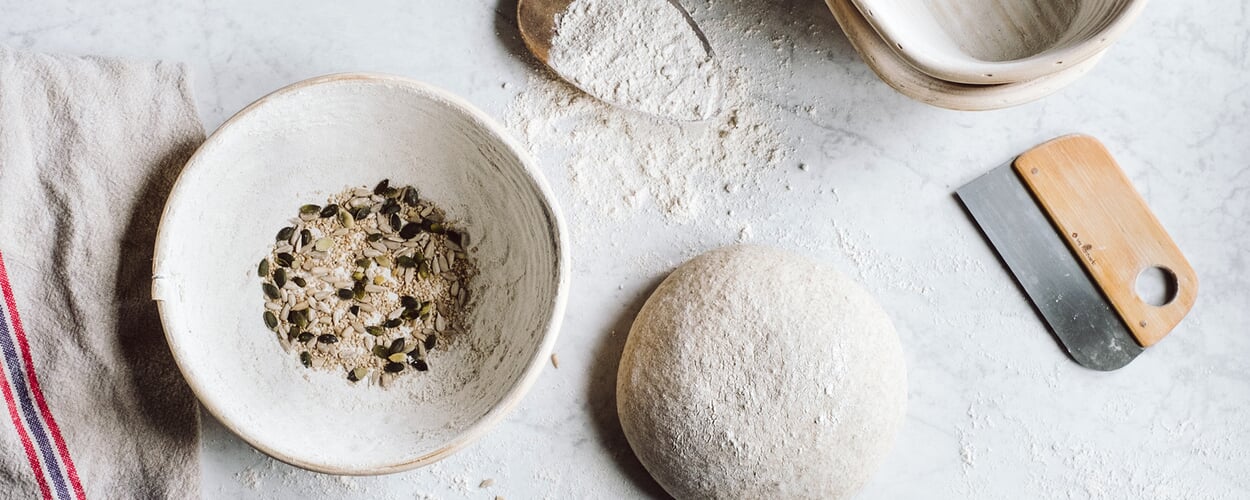
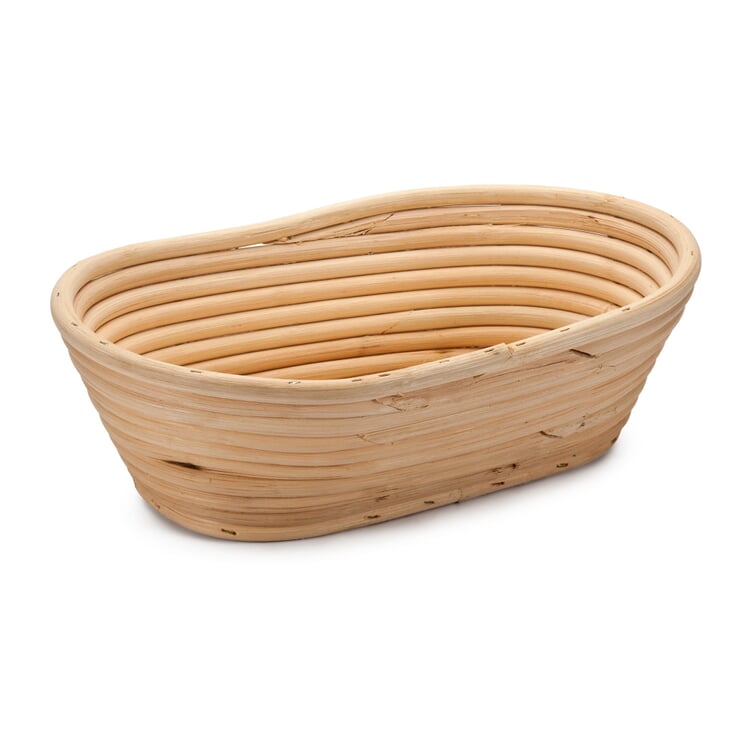
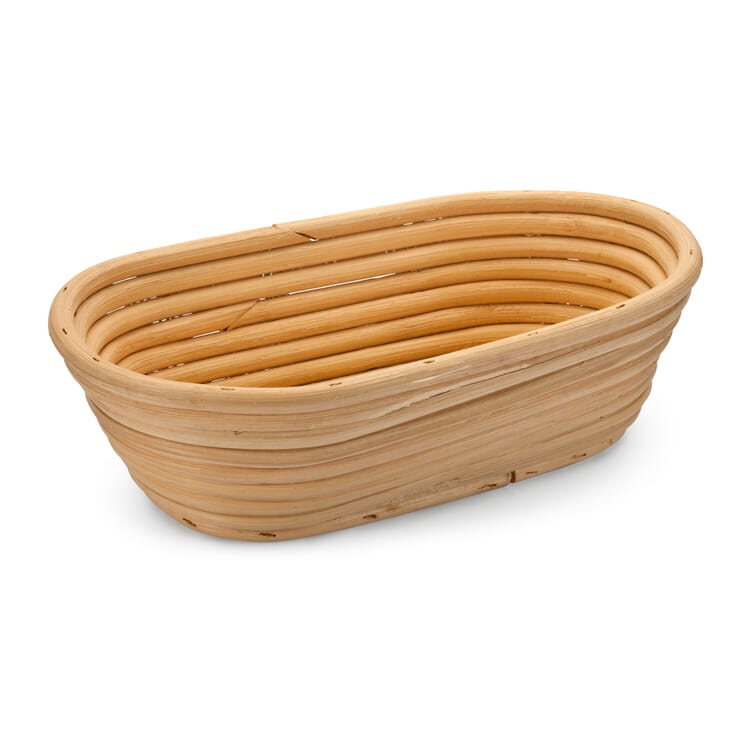
These bread molds are used by bakers to rest the dough; at the same time they give the bread its respective typical shape. They are made of cane, because this is able to provide the moisture balance required in the fermentation process of the dough, while at the same time allowing air to circulate. And: they are also well suited as serving bowls.
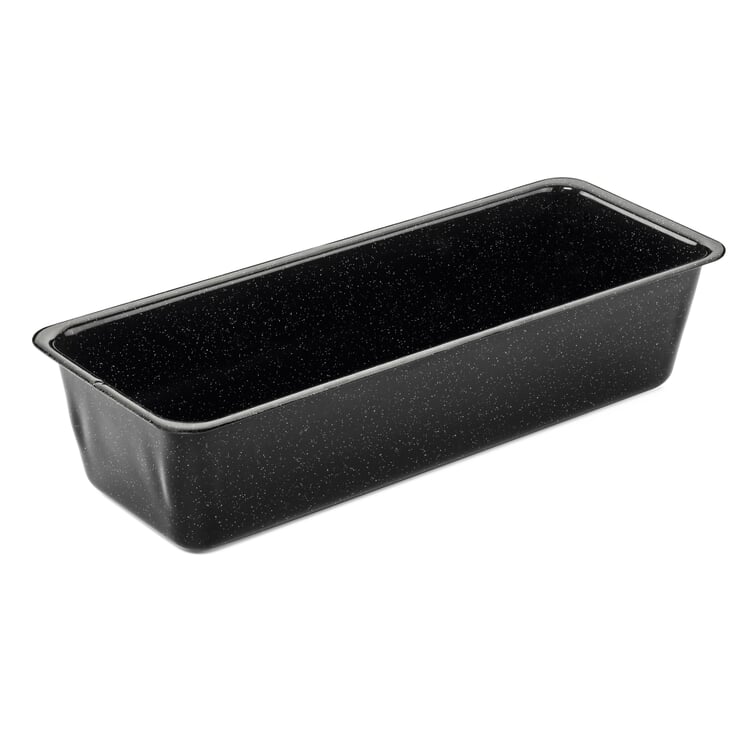
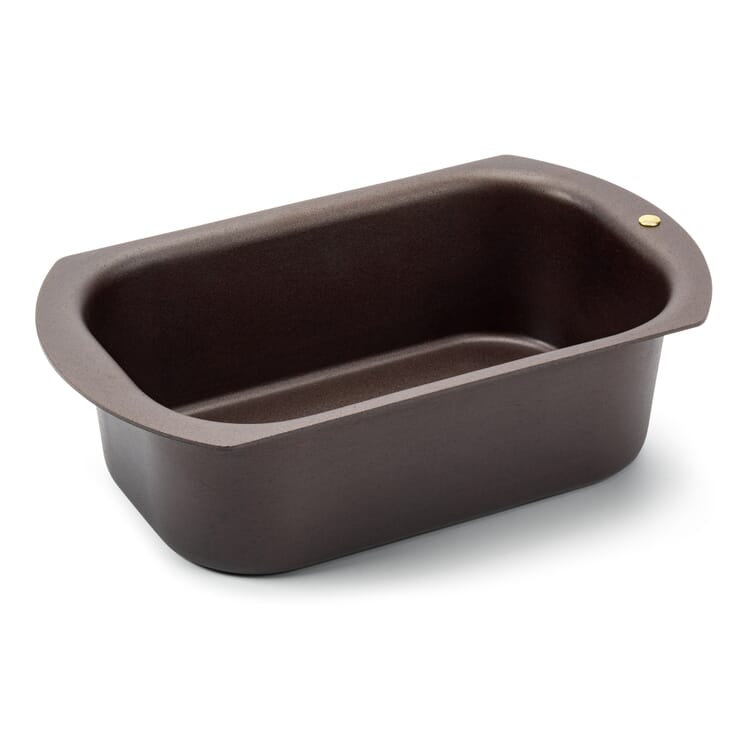
These molds are made of iron (material thickness 0.7 mm) with careful enameling inside and outside (0.3 mm thick). They are seamlessly drawn, which serves both the durability and the baking result, and also cut as well as scratch resistant.
Selected utensils in detail
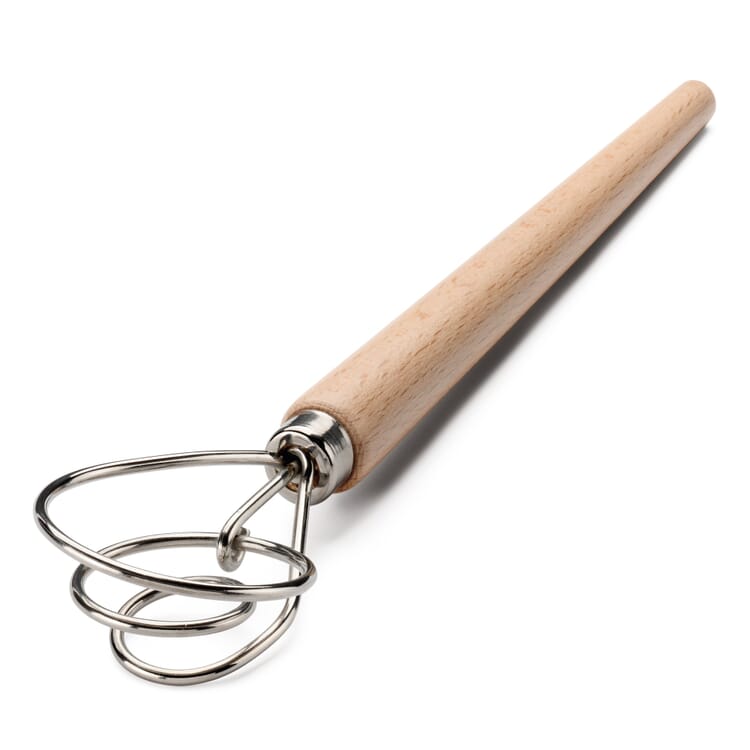
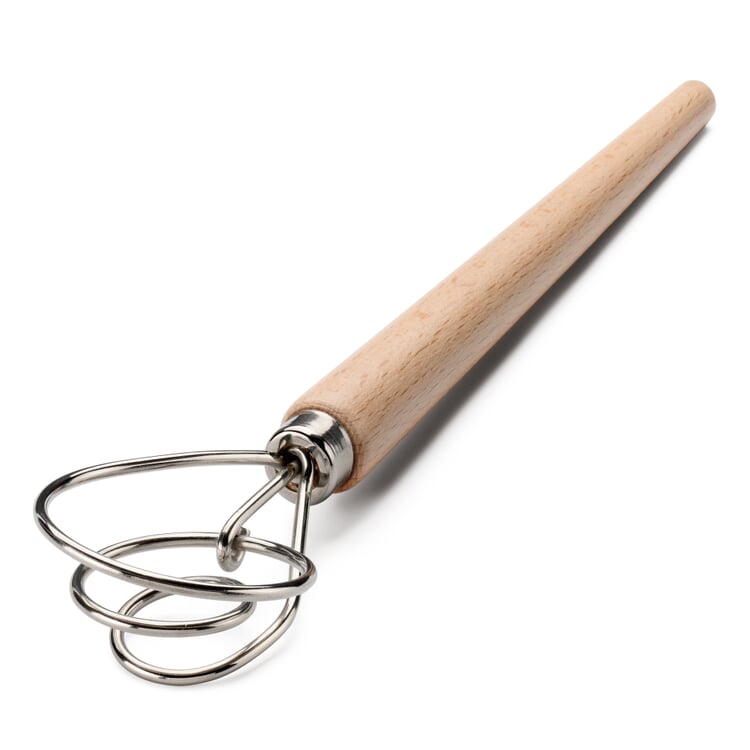
Dough stirrer stainless steel wire
An old form of dough mixer, unjustly forgotten in our country. With the multiple curved and stable loop made of strong stainless steel wire, it facilitates the stirring and mixing of heavy doughs - bread doughs, yeast doughs, gingerbread doughs - quite enormously; dough mass and device do not stick together so much (unlike when using stirring spoons or the often less stable whisk). Lighter sponge and sponge doughs can be aerated very well with the dough mixer.
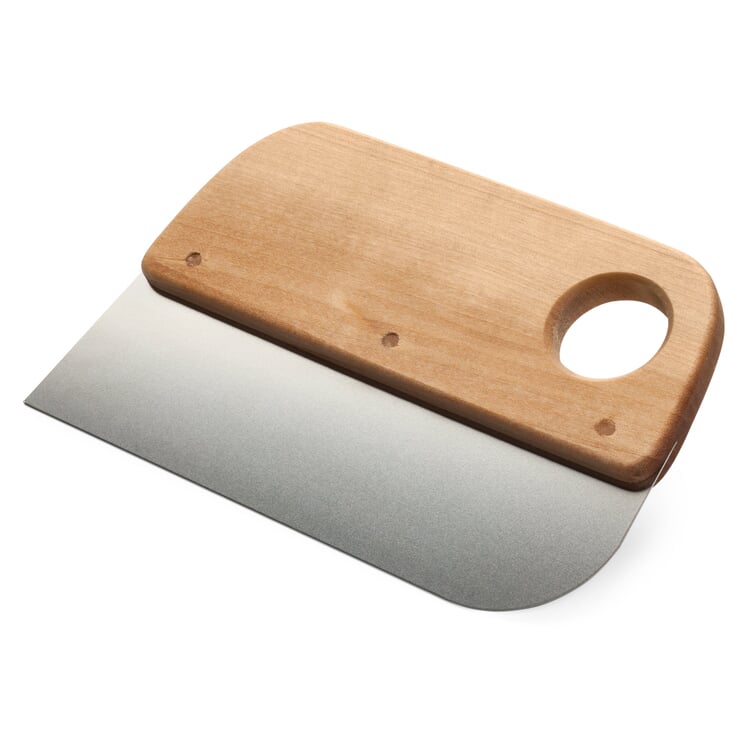
Pastry cutter stainless steel
The now common plastic on the handle and sometimes the blade, this pastry cutter is pleasantly missing. The handle is made of birch grown in Swedish forests, which lies well in the hand and is firmly doweled to the blade. This is made of stainless steel (material thickness 0.7 mm), is very stable and has an asymmetrical shape - the pointed end goes first into the dough, the round can also be used once to get the last remnants of it from the mixing bowl.
Cold risen wheat bread with sourdough
Ingredients Dough (makes 3 loaves):
800 ml cold water
10 g fresh yeast
100 ml sourdough
30 g sea salt
200 g whole wheat flour
1 kg wheat flour (e.g. item 21558)
canola oil
Preparation Day 1:
- Dissolve the yeast in the cold water while stirring. Mix in the sourdough and flour, then mix in the salt. Knead by hand for about 15 minutes until you get a soft, elastic dough that comes away from the edge of the bowl
- Put the dough in a bowl brushed with canola oil and let it rest in the refrigerator for 8-10 hours.
Preparation Day 2:
- Divide the dough into three parts, shape into oblong loaves and leave to rest for 2 hours on a lightly floured surface, covered with a cloth
- Preheat the oven to 250°C with the baking tray/stone, placing water in a fireproof bowl in the oven to allow steam to build up - Slide the loaves onto the hot tray/stone and bake for 20-30 minutes
- Leave the loaves to cool well on a baking rack - only then cut them.
Simple rye bread
Ingredients Dough:
550 g whole rye flour
600 ml cold water
200 ml buttermilk
150 ml beer
10 g fresh yeast
25 g sea salt
250 g rye seeds
200 g linseeds
200 g sunflower seeds (peeled)
Preparation Day 1:
- Dissolve the yeast in the water while stirring, then stir in the flour, buttermilk and beer. Add flax seeds, sunflower seeds, rye and salt and mix well for 10 minutes
- Put half of the dough in molds greased with canola oil and cover with a damp cloth. Leave to rest in the refrigerator for at least 12 hours, but no more than 6 days. The longer the dough rests, the tastier the bread will be.
Preparation following day:
- Preheat the oven to 180 °C, placing water in an ovenproof dish in the oven to allow steam to build up
- Bake the loaves for at least 90 minutes, then remove from the tin and leave to cool well on a baking rack - only then cut.

